Product Support
Accessing Acuvim II Readings via Meter Display
View Energy Readings
Press "E" to display/read different energy readings such as energy consumed (imp kWh), energy produced (exp kWh), reactive energy (kvarh), as well as view the real time clock etc located at the bottom of the display.
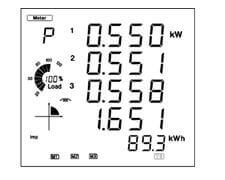
Figure 1: Energy Readings
For reading the Energy data, have a look at the complementary video:
View Measured Power Readings
Press ‘P’ to display/read real, reactive and apparent power, as well as the power factor and frequency.
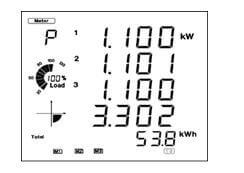
Figure 2: Power Readings
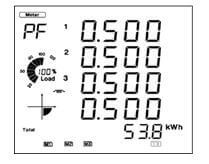
Figure 3: Power Factor Readings
Press "P" to display/read real, reactive and apparent power, as well as the power factor and frequency.
For reading the Power data, have a look at the complementary video:
View Voltage and Current Data
Press "V/A" to display/read the phase and line voltages, as well as the current readings.
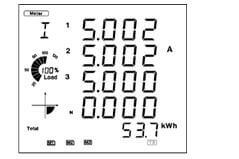
Figure 4: Current Readings
For reading the voltage and current data, have a look at the complementary video:
View Max/Min Values
- Make sure you are on the "Max/Min" screen mode. To get to this screen, press "H" and "V/A" simultaneously; the display selection mode will be activated and the screen should become blank. With the cursor flashing, press "P" or "E" to move the cursor to "Max/Min". Press "V/A" to enter the "Max/Min" mode.
- On the "Max/Min" Screen mode:
- Press "P" or "E" to display/read different max or min values for Voltage, Current, demand etc.
- Press "V/A" to switch between the max values or the min values
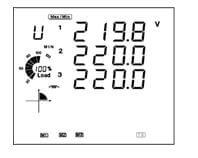
Figure 5: Max/Min Readings
For reading the Max/Min data, have a look at the complementary video:
View Demand
- Make sure you are on the "Demand" screen mode. To get to this screen, press "H" and "V/A" simultaneously; the display selection mode will be activated and the screen should become blank. With the cursor flashing, press "P" or "E" to move the cursor to "Demand". Press "V/A" to enter the "Demand" mode.
- On the "Demand" Screen mode:
- Press "P" or "E" to display/read the power and current demand.
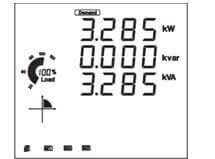
Figure 5: Demand Readings
For reading the Demand data, have a look at the complementary video:
View Harmonics Data
- Make sure you are on the "Harmonic" screen mode. To get to this screen, press "H" and "V/A" simultaneously; the display selection mode will be activated and the screen should become blank. With the cursor flashing, press "P" or "E" to move the cursor to "Harmonic". Press "V/A" to enter the "Harmonic" mode.
- On the "Harmonic" Screen mode:
- Press "H" to display/read various power quality data such as Voltage THD, current THD, THFF etc.
- Press "V/A" to switch from the power quality data to the harmonic ratio data display, and to switch between voltage and current harmonics
- Press "P" or "E" to increase or decrease the harmonic order i.e. from 2nd to 63rd harmonics
- Press "H" to switch back to the power quality data display
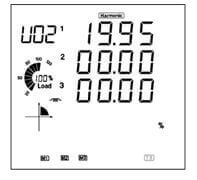
Figure 6: Harmonics Readings
For reading the Harmonics data, have a look at the complementary video:
View Data from I/O Modules
- Make sure you are on the ‘Digital I/O’ screen mode. To get to this screen, press ‘H’ and ‘V/A’ simultaneously; the display selection mode will be activated and the screen should become blank. With the cursor flashing, press ‘P’ or ‘E’ to move the cursor to ‘Digital I/O’. Press ‘V/A’ to enter the ‘Digital I/O’ mode
- On the ‘Digital I/O’ Screen mode:
- A module selection screen is shown once you enter the digital I/O mode. The figure is shown below
Note: AXM-IO1-1 represents M11, AXM-IO2-1 represents M21, AXM-IO3-1 represents M31, AXM-IO1-2 represents M12, AXM-IO2-2 represents M22 and AXM-IO3-2 represents M32
- Press ‘P’ or ‘E’ to move the cursor to the module you want to view and then press ‘V/A’ to select that module; this will take you to the I/O module data selection screen.
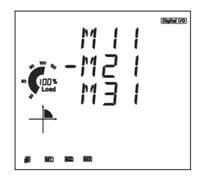
Figure 7: Module Selection Screen
Note: Pressing ‘H’ will take you back to the module selection screen
- You can view I/O module data such as DI status, relay status, analog output etc.
