
1. AXM-WEB Web Login Interface
To view the AXM-WEB web interface an Ethernet connection is needed.
-
Open an internet browser and type in the IP address of the meter in the browser search bar and hit the Enter key. The meter's web login page will display as followed:
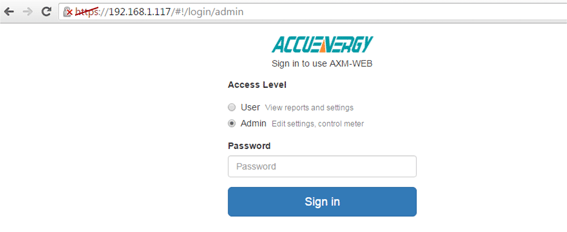
Figure 1
-
Login to the web page as 'Admin'. The default password is 'admin'.
Upon successfully logging in you will be redirected to the Dashboard where a brief report of data from the meter will display. The Dashboard will also display how long the AXM-WEB has been up and communicating.
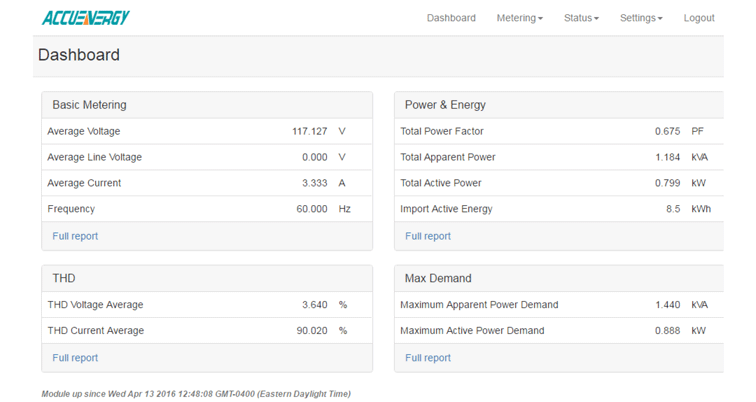
Figure 2


2. Navigate to SNTP Settings
-
Click on the 'Settings' tab and select 'Communications'.
-
Select 'SNTP'.
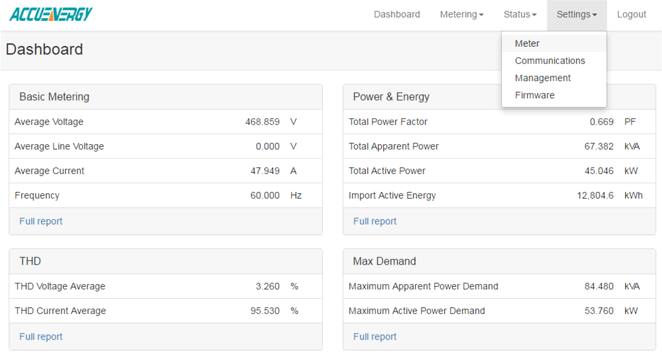
Figure 3
3. Configure SNTP Settings
-
The SNTP function can be configured to allow the meter to synchronize it's time with a internet time server at intervals of time.
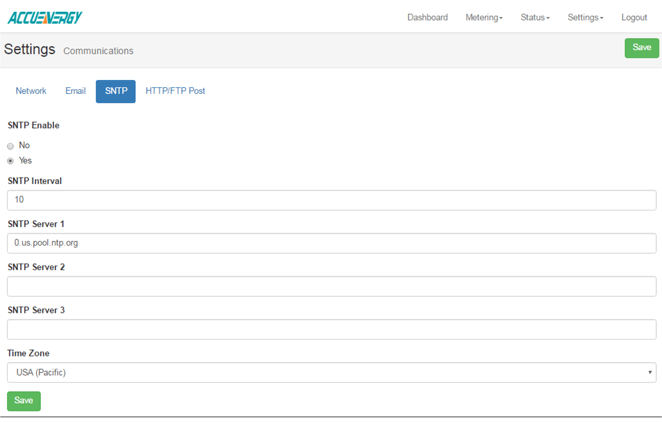
Figure 4
To use this function the following settings need to be configured:
SNTP Enabled: Select 'Yes' to enable and to further configure the settings related to the SNTP function.
SNTP Interval: Enter a number from 1 min to 6000 min to configure how often the meter will synchronize it's time with the time server.
SNTP Server 1;2;3: Enter up to 3 SNTP servers in "SNTP Server 1", "SNTP Server 2" and "SNTP Server 3".
Examples of SNTP servers are:
0.us.pool.ntp.org
1.us.pool.ntp.org
2.us.pool.ntp.org
3.us.pool.ntp.org
Time Zone: Select the time zone the meter is in or the time zone in which you would like the meter's time to be synchronized to.
-
Click 'Save' after changing any settings. The AXM-WEB will also need to be rebooted from the 'Management' page.
